|
Tubing An Image With A Single Color Outline
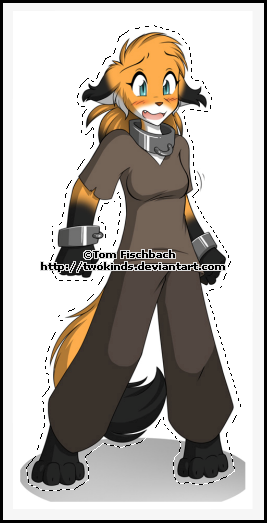
You will Need: Image of choice (be sure the Artist allows Tubing of his/her images) I will be using the FTU General Permission artwork of TwoKinds If you wish to use the same image you can find it HERE
***PREPERATION***
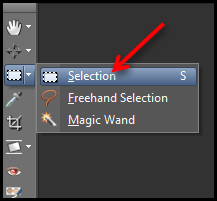
Layers> Promote Background Layer Some image have a lot of excess depending on what within your image you are wanting to Tube Let's cut down some of the excess from our image ... Activate your Selection Tool
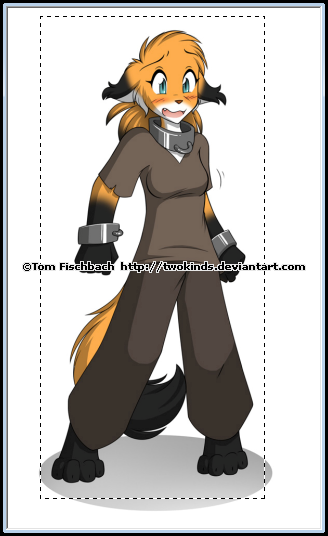
Make a close Selection around what you are wanting to Tube (in this case the character)
Once happy with your Selection ... Image> Crop to Selection Ok next we want to change the images Canvas size (if you simply Tube without this step you could end up with some stray pixels around the edges of your canvas when you are done)
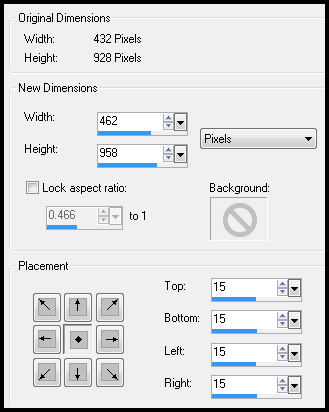
Image> Canvas Size
Using the Drop Down Box set to Pixels Now set set your New Dimensions Width & Height to around 30pixels more than your Original Dimensions Under Placement make sure the middle box (one with the diamond) is the one pushed in and click on OK
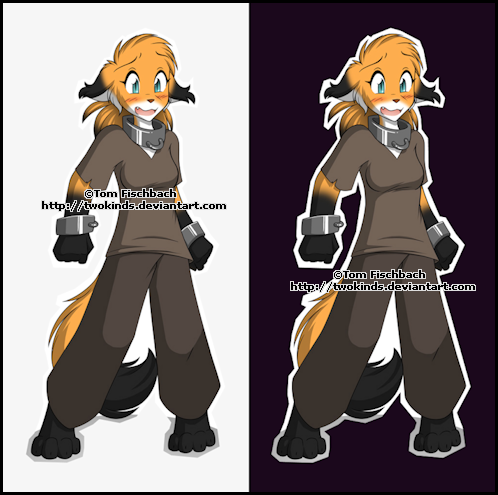
Layers> New Raster Layer ... Flood Fill with a Dark color (I use #1b081c) Layers> New Raster layer ... Flood Fill with a Light color (I use #f6f6f6f)
Activate the Image layer again ... Layers> Arrange> Bring To Top SAVE your image here as a PSD file Remember to save often so you don't lose what you have done
***TUBING***
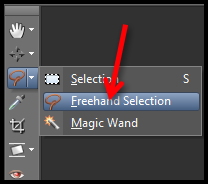
Activate your Freehand Selection Tool
With the following settings
Ok now we need to strip away some more of the excess from our image Draw a close Selection around your image like so
Selections> Invert ... Hit DELETE on your keyboard Selections> Select None
Now change your Freehand Selection Tools to the following
If your image has a light colored background then Hide your Light Color layer so the Dark Color layer is visible, this should make the excess a lot easier to see
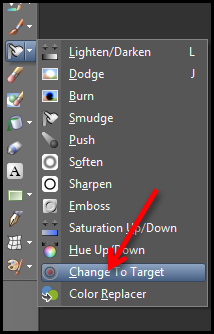
Activate your Change To Target Tool
with the following settings
(these settings are not guaranteed to be spot on for your image as the settings can vary so you MAY need to play around with them) Change your Foreground color to the same color as your images outline
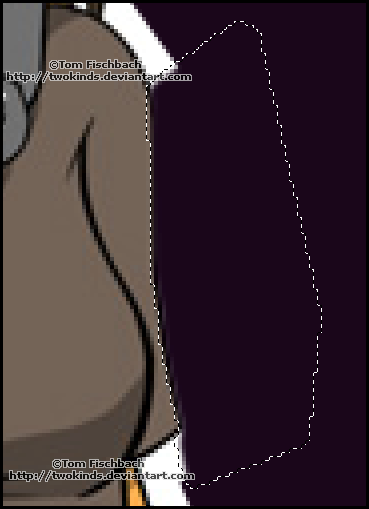
Activate your Freehand Selection Tool ... Zoom in by 400% or 500% whichever you prefer
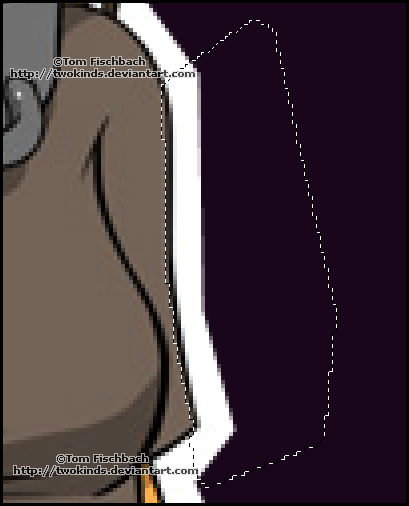
Move around til you have the area you want to start Tubing on in view Make a Selection by clicking around the edge of your image (the closer to the edge the better) make your clicks close together as this will give a smoother result Be sure the First and Last clicks are in the Transparent area or your canvas
than when you where clicking, this is meant to happen so don't worry
your Selection should now look like so
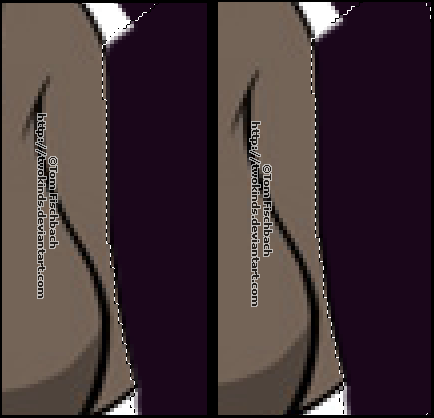
Hit DELETE on your keyboard 4-5 times and you should have something like this
Activate your Change To Target Tool ... click and drag over the stray (wrong color) pixels around the edge and you will notice they will change to match the color of the outline If needed keep going over it til all the stray pixels match the outline color
Selections> Select None Now swap the Dark & Light Color layers back and forth so you can see that the edge looks OK on both
Now move on to the next section and repeat the processes above in Red Continue with this until you have worked your way around the whole image When working in corners or on pointy bits you should switch the Freehand Selection Tools "Feather" to 1 it will give a better edge
Selections> Select All ... Selections> Float ... Selections> Defloat You should have a Marching Ants around the character or whatever you Tubed If you notice any Marching around the canvas (away from the Tube) then it means you have missed erasing a pixel or two. Stick its location to your memory ... Selections> Select None Using your Eraser Tool delete the stray pixels then
Selections> Select All ... Selections> Float ... Selections> Defloat Now hopefully the only Marching Ants you have are around your Tube
If so ... Selections> Select None DELETE THE DARK & LIGHT COLOR LAYERS
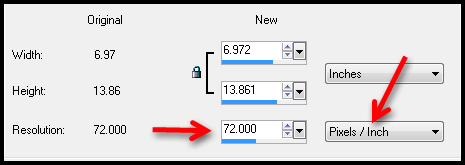
Ok well most Artists state that Tubes made from their images must not exceed 72 dpi (dots per inch) so now we need to check the image size and make sure it does not Image> Resize
Change the Resolutions Drop Down Box to Pixel/Inch if not already set to that And in the left box it should be 72.000 ... if not then change it to 72.000
Then at the bottom of this window make sure the Resize All Layers box is checked and then click on ok. Selections> Select All ... Selections> Float Selections> Modify> Expand by around 25 pixels ... Image> Crop to Selection
Now you need to add a Credits layer ... Select your Font Tool ... here are the settings I use
Foreground - Null ... Background - Black
Be sure to use a clear/easy to read Font Credits should read as ©ArtistsName ArtistsURL move to a suitable position ... Layers> Convert To Raster Layer If you have your own Tubed by Watermark (like SpawnTubed or a logo) Add that as a New layer
In your Layer Palette rename your layers Tube, Credits, Tubed by And rearrange them into the following order Top to Bottom Credits Tubed by Tube
Ok now you have your Tube it is time to save it (again as PSD) But seeing as we need to give it the correct name we need to Save As When naming a Tube the correct way is ... Artist Name followed by Tube Name followed by Tubers Name Example: TwoKinds-FoxgirlifiedColor-SpawnTubed
Now you can feel free delete the other PSD copy of the Tube because you don't want to get the two mixed up now do you
I hope you found this Tutorial useful
Tutorial written on the 19th December 2012 ©David Hanslip |