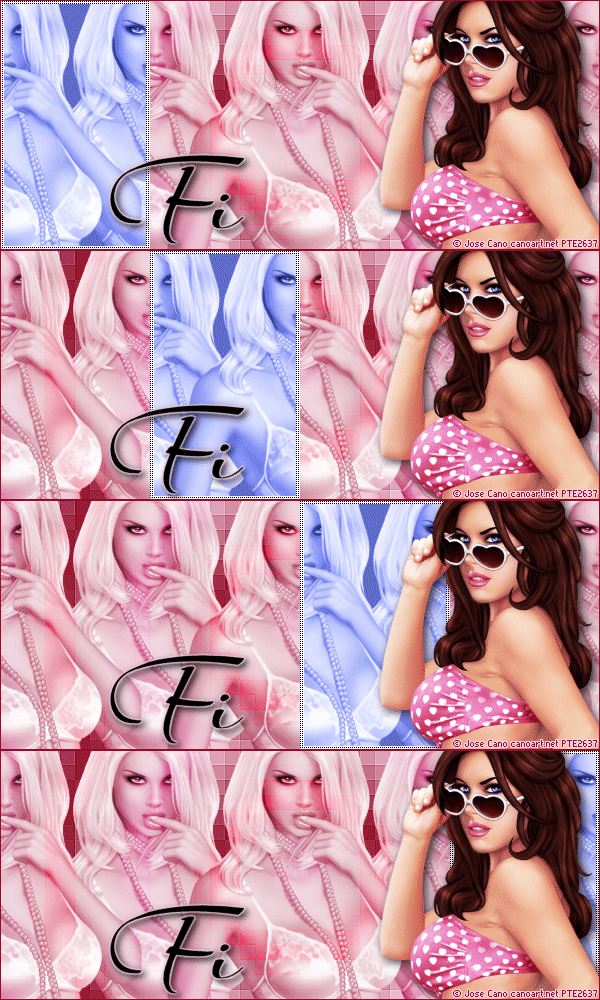
|
First time trying one of my Tutorials? Then please check my Terms of Use before you continue You will need: Font of your choice Tube of your choice - I will be using the artwork of Jose Cano License and Tubes now available at CanoTubes
Filters: Mura's Meister/Copies
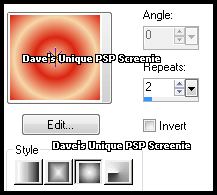
Ok let's begin Change your Foreground to a Light color from your Tube Change your Background to a Darker color from your Tube Click on your Foreground again and set it to Gradient ... with the following settings
Open a New Image 600x250 ... Flood Fill with your Gradient Effects> Distortion Effects> Pixelate ... with the following settings
Effects> Edge Effects> Enhance Paste your Tube as a New Layer and position suitably in the center of your Tag Effects> Mura's Meister> Copies ... *Line ... change Number to a suitable amount (I used 5)
Duplicate this layer ... activate the Original ... change the Blend Mode to Luminance Rename this layer MMC Activate the Duplicate ... rename it Ani ... Change the Blend Mode to Luminance(L) Duplicate this layer three times (for a total of 4)
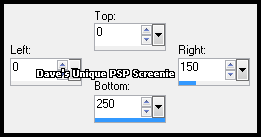
Activate the Ani Layer Make a Custom Selection ... with the following settings
Selections> Invert ... Hit DELETE on your Keyboard ... Selections> Select None
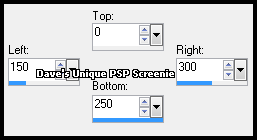
Activate the Copy of Ani Layer Make a Custom Selection ... with the following settings
Selections> Invert ... Hit DELETE on your Keyboard ... Selections> Select None
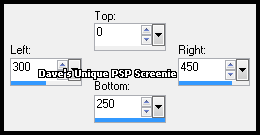
Activate the Copy (2) of Ani Layer Make a Custom Selection ... with the following settings
Selections> Invert ... Hit DELETE on your Keyboard ... Selections> Select None
Activate the Copy (3) of Ani Layer Make a Custom Selection ... with the following settings
Selections> Invert ... Hit DELETE on your Keyboard ... Selections> Select None Hide all the three copy of Ani layers for now
Activate the Top layer ... Layers> New Raster Layer Make a Custom Selection ... with the following settings
Flood Fill this Selection with White ... Selections> Modify> Contract by 4 Hit DELETE on your keyboard Selections> Modify> Expand by 2 ... Layers> New Raster Layer Flood Fill this Selection with any color you like (this will be your window color)
Selections> Select None ...rename this layer Glass & change its Blend Mode to Hard Light In your layer palette move this layer between the MMC & Ani layers Activate the Top layer ... Effects> Texture Effects> Weave ... with the following settings
Rename this layer Frame Paste your Tube as a New Layer and position it on the right side of your Tag Apply a suitable Drop Shadow
Layers> New Raster Layer ... Flood Fill with a Dark color Selections> Select All ... Selections> Modify> Contract by 1 ... Hit DELETE on your keyboard Selections> Select None ... Add Copyrights and your Name
ANIMATING
On both the Frame and Glass layer ... Effects> Image Effects> Offset ... with the folowing settings
Edit> Copy Special> Copy Merged Return to PSP hide the "Copy of Ani " layer and unhide the "Copy (2) of Ani " layer Repeat the steps in red above Return to PSP hide the "Copy (2) of Ani " layer and unhide the "Copy (3) of Ani " layer Repeat the steps in red above
Edit> Select All .... Animation> Frame Properties ... change to 60 (or a higher number if you want it even slower)
Here is another example made by my friend Sezy
Tutorial written on the 11/03/2012 ©David Hanslip |

